How To Delete A Page In Word
 Not sure how to delete a page in Word? Don’t fear! There are many ways to do so. If your current method of deleting all the spaces on a page isn’t quite cutting it, read on for additional ways to remove a page from your Word document.
How To Delete A Page In Word | Five Ways To Remove A Page
Option 1: Deleting All The Extra Spaces
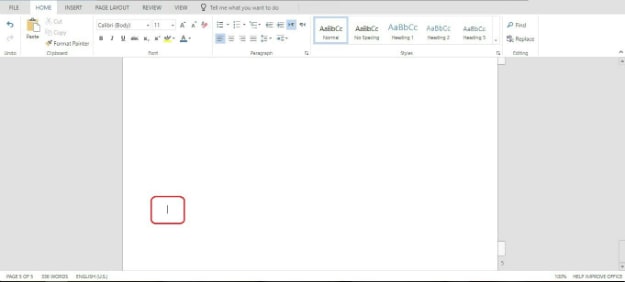
It’s annoying when your printer spits out an extra blank page along with your documents. Save yourself the eye rolls by deleting that unwanted page in your file. The most trusted and common remedy is to go to the empty page in Word and click to the bottom of the page. Just keep your finger on “delete” or “backspace” until you reach the end of your text.
Option 2: Deleting The Page Through Navigation
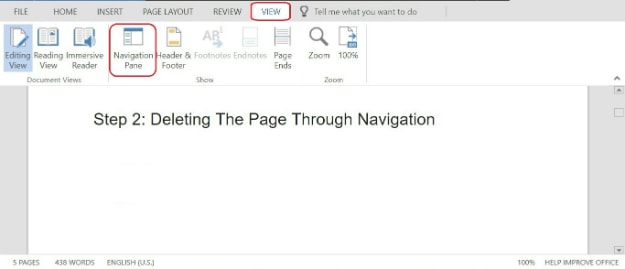
Still can’t remove that unwanted page break from Word? Try going to the “View” tab at the top of the page and click on “Navigation Pane” in the “Show” section (Note: This may not be available for lower versions of Word). You’ll see a thumbnail of your document. Look for the blank page in it and hit delete until it disappears.
Important Note: Not available for Office 365 and Office Online.
Option 3: Deleting The Page Using Page Selection
Another way to delete a blank page is to show paragraph marks. Go to “File” then click “Options.” After that, go to the “Display” tab. Look for the “Always show these formatting marks on the screen” section and click on paragraph marks. Click “OK” and go back to your document. You’ll then see the extra paragraph breaks in the file. If you see some on a blank page, delete those until the unwanted page disappears.
Option 4: Deleting The Page Using The Find Tool
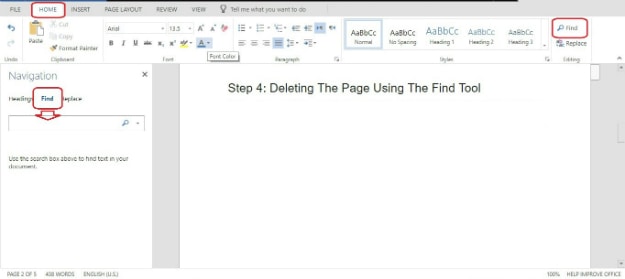
If you still can’t figure out how to delete a page in Word after the instructions given, try using the Find tool instead. Go to the Home menu and select “Find” in the rightmost section. This will bring out the search box on the left side of the document. Click on the drop down and select Go To. Select Page from the options and type “\page” then click on “Go To” until you see the empty page you want to delete. Once you do, highlight the entire page and delete until it disappears.
Option 5: Deleting The Extra Page After A Table
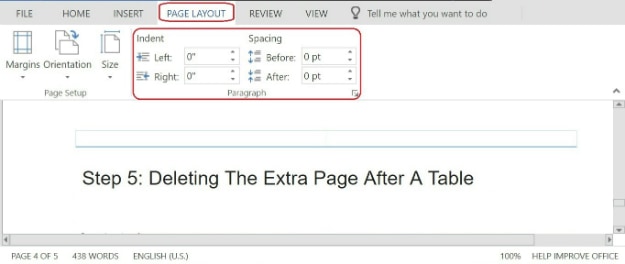
Have you ever inserted a table into your document and instantly got annoyed with the extra spaces in it? Here’s how you can delete those without getting frustrated.
Remember, Word will automatically insert a paragraph after you insert a table. Decrease its font size to keep the space at the barest minimum. Highlight the table until the space below it. Go to the Layout section in the menu bar and input “0” for all the indention and spacing. This will decrease the space and in turn delete unwanted blank pages in the document.
If you need visual help, check out this video for more instructions on how to delete a page in Word.
Not being able to delete that extra page on your document can get frustrating, we know! We hope these steps have helped you through your particular spacing issue within Word. If you’re looking for even more information on how to delete a page in Word, visit the app’s support page.
Did this post help you out? Let us know in the comments section below!