How to Crop Photos for Better Images
Estimated reading time: 4 minutes
Table of contents
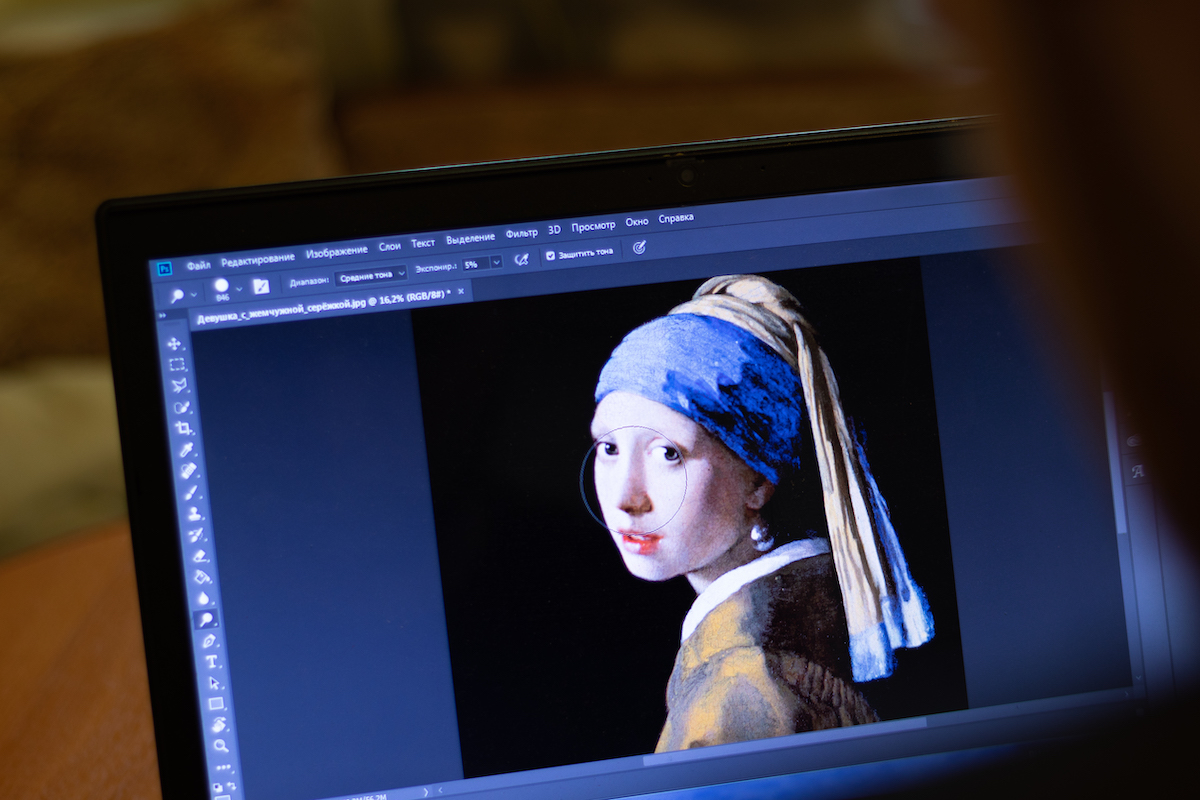
Did you know that over 90% of the world’s creative professionals use Adobe Photoshop? It’s a popular photo editing tool for a reason, and it’s also one of the easiest photo cut-out tools on the market.
Need to learn how to crop photos for better images? Perhaps you need to learn how to crop yourself out of a photo. For that, we suggest getting familiar with Photoshop features.
Why? Because whether you’re a professional photographer or just snapping pictures for fun, cropping your photos can help you improve the composition and overall quality of your images.
Here’s how to crop photos for better images.
Think About Crop Ratios
One of the most important things to think about when editing or cropping a photo is the crop ratio. This is the ratio of the width of the photo to the height. The crop ratio can be changed by cropping the photo, which is why it’s important to think about it before taking the photo.
The most common crop ratios are 3:2, 4:3, and 16:9. The 3:2 ratio is used by most DSLR cameras, while the 4:3 ratio is used by most point-and-shoot cameras.
How you crop your photos will depend on what you’re trying to achieve.
For example, if you’re taking a photo of a person, you might want to use a 3:2 or 4:3 crop ratio so that their face takes up most of the photo. If you’re taking a landscape photo, you might want to use a 16:9 crop ratio so that you can include more of the scene in the photo.
When in doubt, it’s always best to crop your photos later rather than getting them perfect in-camera. That way, you have more options and can make sure that you’re happy with the final result.
How to Crop the Background Out of Photos
Now that you understand a bit about crop ratio, it’s time to learn how to crop photos for better images.
One of the most common questions we see online is how to crop the background out of a photo.
While there are a number of ways to do this, we always recommend using the background remover tool in Adobe’s Express Photoshop.
To use the tool, simply select the area of the image that you want to remove, and then click on the “Background” layer in the Layers panel.
The Background layer will be replaced with a transparent layer, and the remaining image will be placed on a new layer. You can then move or resize the image as desired.
That’s it! We told you Photoshop photo editing is simple.
How to Crop Yourself Out of Photos
Maybe you love the background of your photo but want some cropping tips on how to crop yourself out of a photo.
In Photoshop, there are a few different ways that you can crop yourself out of photos. One way is to use the “Crop Tool.”
With the Crop Tool selected, simply click and drag around the area that you want to keep in the photo. You can also use the “Content-Aware Fill” option to fill in the area around where you cropped yourself out.
Another way to crop yourself out of photos is to use the “Lasso Tool.”
With the Lasso Tool selected, click and drag around the area that you want to keep in the photo. Once you have made your selection, simply press the “cut” button on your keyboard and the area outside of your selection will be cropped away.
Whichever method you choose, cropping yourself out of photos using Photoshop is a quick and easy way to remove unwanted people from your pictures.
Learn to Use Other Free Photo Editing Apps
Learning how to crop photos is only the beginning of your photo editing journey. If you’re interested in learning how to use other free photo editing apps then you’ll be able to pick up skills that can take your photography from noobie to professional in no time.
To keep learning, check out our guide on the 23 Best Photo Editing Apps.