How To Edit A Post On Facebook After You Posted It

Need to know how to edit a post on Facebook? You may have recently posted or shared something on your timeline that had a few grammatical errors. Or perhaps you want to replace the image of the post you uploaded for a better one? You can do both! Read on to learn seven steps on how to edit a post on Facebook even after posting or sharing it.
How to Edit a Post on Facebook in 7 Easy Steps
Step 1: Log into Your Facebook Account
The first step is to log into your Facebook account. Type the Facebook URL (https://www.facebook.com/) into the address bar of your web browser and hit the enter or the return key on your keyboard or click. You can also click here to be redirected to its main page.
On the upper-right portion of the Facebook homepage, you’ll see two text boxes. Type your Facebook-registered email address or phone number in the text box on the left and your account password in the text box on the right. You then click the “Log In” button with your cursor or hit the enter or return key on your keyboard to proceed to your Facebook account.
Step 2: Go to Your Timeline
Once you’re logged into your account, head on over to your timeline page. The timeline page lists all your posts and shares chronologically, from the most to least recent. You can access your Facebook timeline in two ways:
- Click the profile icon on the top-left portion of your News Feed. The profile icon is the button with both your profile picture and Facebook name.
- Access the profile button within the dark blue menu bar on top of the Facebook website. It’s similar to the icon mentioned earlier, but this time, it only displays your first name instead of your complete name.
Step 3: Locate the Post You Want to Edit
As soon as you click any of these profile icons, you’ll be redirected to your timeline page. The page may take a while to load since the timeline is compiling all the posts and shares you’ve made on Facebook. As soon as your web browser loads the page completely, you can scroll through all your posts until you find the one you want to edit.
Step 4: Click the Edit Post Button
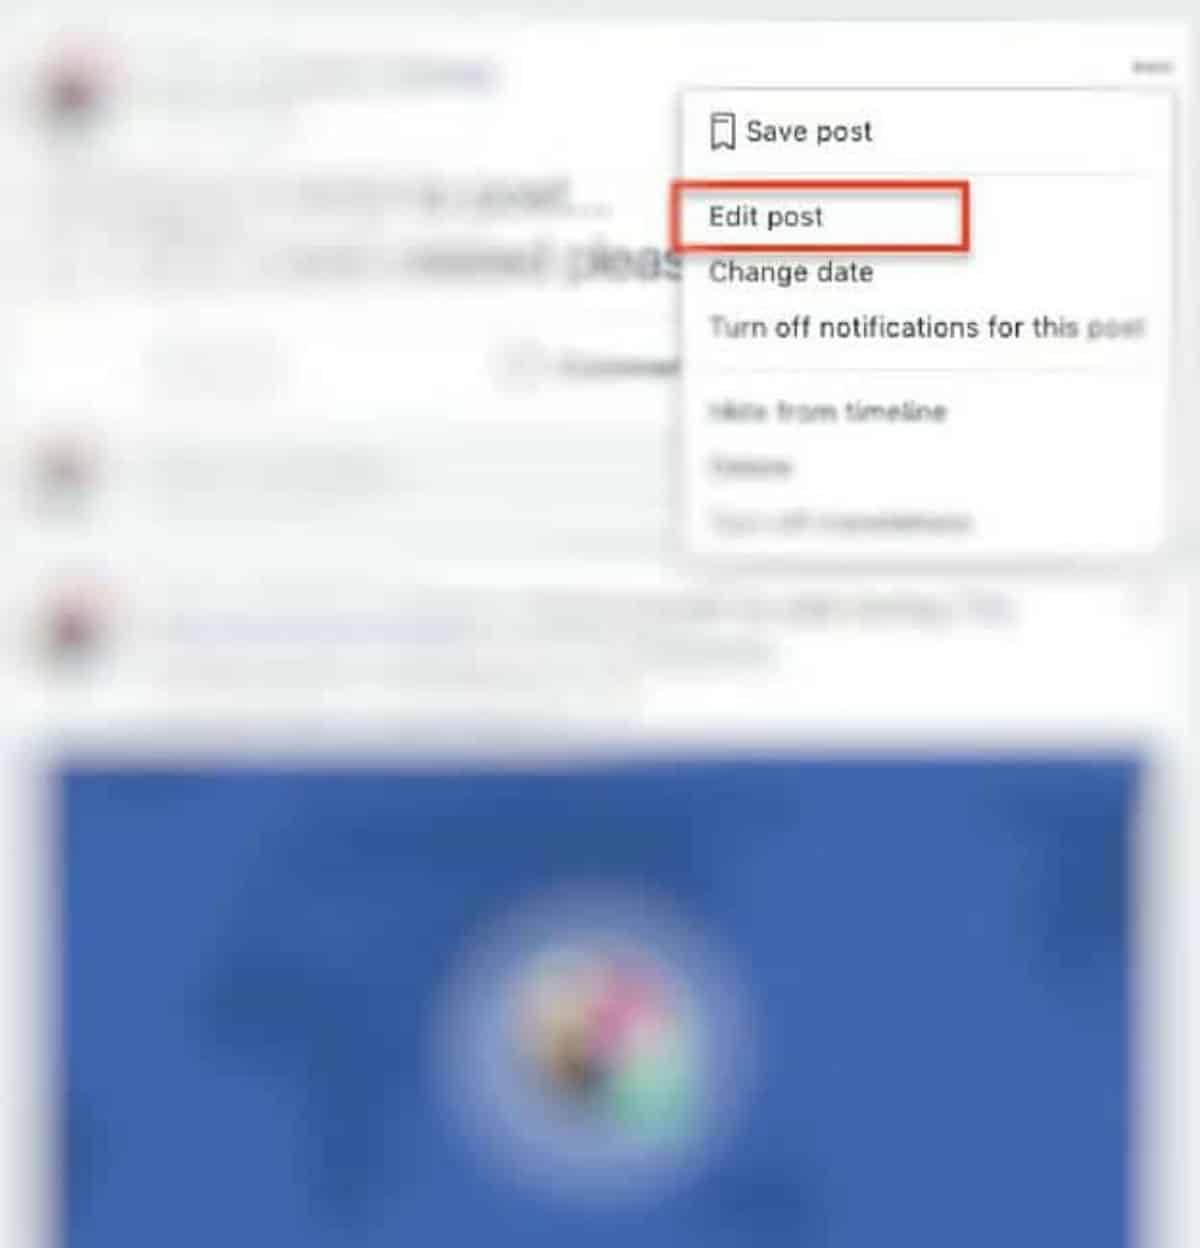
To begin editing the post, click on the settings button. It’s the icon with three consecutive horizontal dots and is located on the top-right corner of the post you’re editing. Next, select the “Edit Post” option from the dropdown menu that appears after you click the settings button.
Step 5: Change the Caption of Your Post
Clicking the”Edit Post” option prompts Facebook to open a new window. In this new this window, you’ll see that the caption of your original post is now inside of an editable text field. You can then type the changes you want to make inside this text box.
Note: You can also do this step for when you want to edit your caption for a post you’ve shared from a Facebook page other than your own.
Step 6: Remove or Upload New Pictures
You can also edit or delete a photo on Facebook without deleting the entire post. First, you hover over the image you want to delete with your cursor. Then you’ll see an “X” button appears on the top-right corner of the photo. Click this “X” button to delete the image.
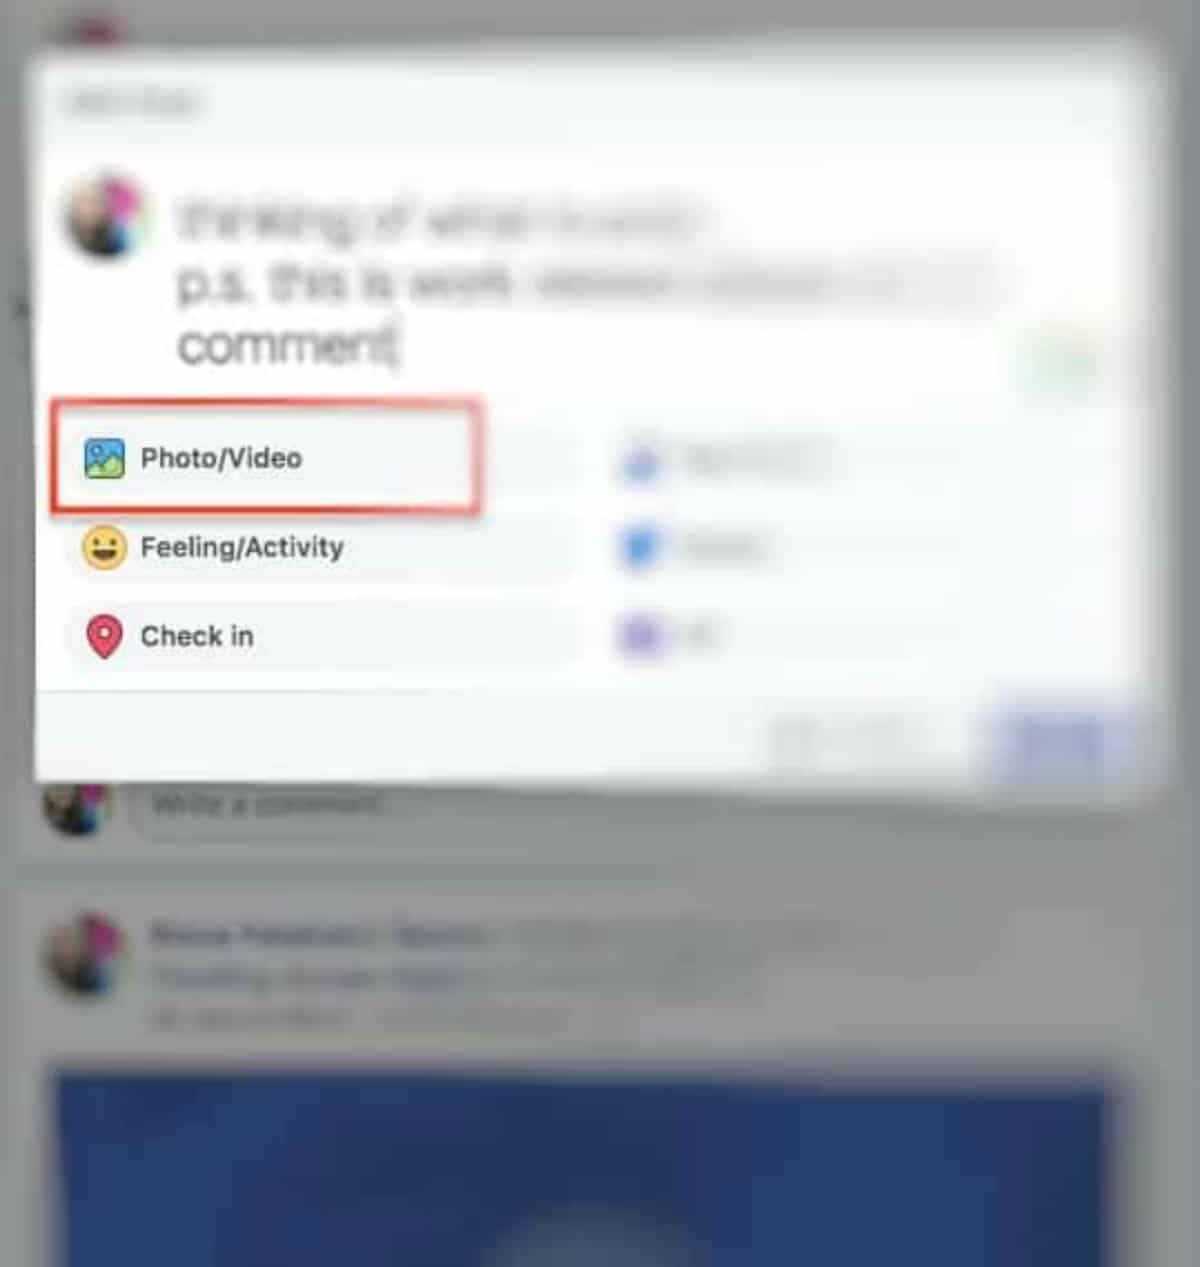
To upload a new or replacement image, click the “Photo/Video” button below the text box. A window of your pictures folder will appear, and from here, you can choose and upload the replacement photo.
Note: You can’t delete or replace the photos that come with a post you’ve shared from a third-party application or from another Facebook page.
Step 7: Save Your Changes
When you’re satisfied with the edits you’ve made, the last step is to save these changes. Doing this is as easy as clicking the “Save” button on the lower-right corner of the post.
Sometimes, even after you’ve clicked the “Save” button, you might see that Facebook didn’t apply the changes you made to the post. Don’t panic! Try reloading your browser by clicking the refresh icon beside the address bar. This fixes the problem most of the time. If the changes you made still weren’t applied, ask about it on the Facebook Help Center.
Question: How many times can I edit a Facebook post?
Answer: You can edit personal posts and shares as many times as you need to. However, there is a cap for how many times you’re allowed to edit boosted posts or posts that are part of a business ad campaign.
Interested in learning how to edit a post on Facebook? Learn how by watching the video by Linda Bomba below.
You now know how to edit a post on Facebook in seven simple steps. Before actually posting or sharing anything on your Facebook account, make sure to check, double-check, and even triple-check your caption and photos. By doing so, you save yourself from spending unnecessary amounts of time and effort editing a single post.
Do you have other questions on how to edit a post on Facebook? Ask them in the comments section below!