How To Edit Photos That Don’t Suck
Want to know how to edit photo files using Adobe Photoshop? Just follow the 10 step guide below and you’ll be able to cover the basics of photo editing. We’ve even included a couple of Photoshop editing tips to help you get a head start!
How to Edit Photo Files in Photoshop | A Beginner’s Guide
Step 1: Upload Your Photo to Photoshop
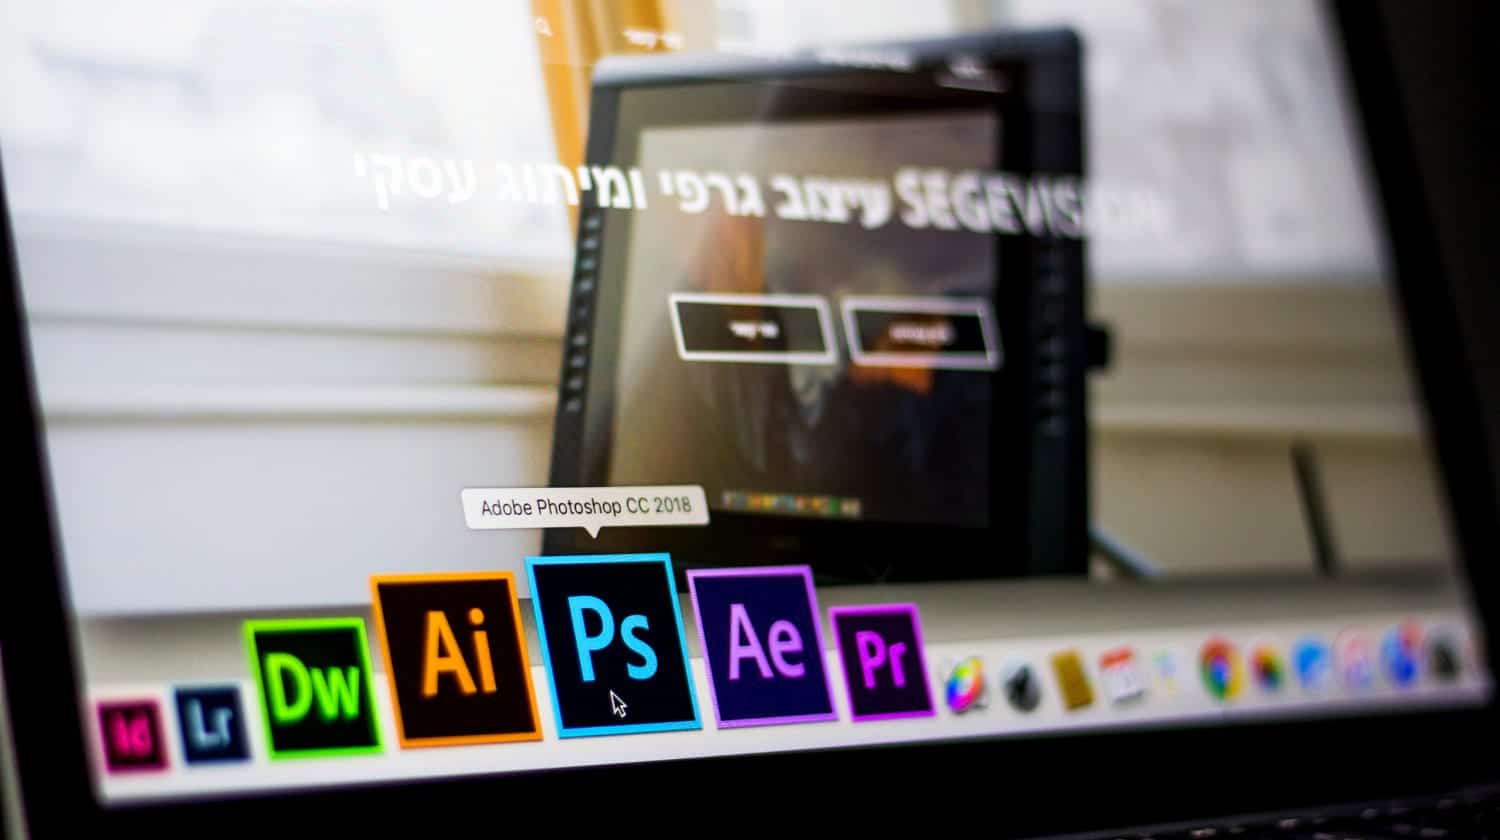
To start editing, launch the Photoshop application on your computer. Do this by double-clicking the black and blue “Ps” icon on your desktop or dashboard. Upload the image you want to edit by clicking “File” on the upper-left hand corner of Photoshop. You then select the “Open” option from the drop-down menu. A window of your pictures folder will appear, and from here, you can locate and select the photo you’ll be editing.
Don’t have a photo editor installed on your computer? You can download a trial version of Adobe Photoshop by clicking this link.
Step 2: Crop the Image
Once you’ve uploaded the image, you can start cropping. Select the crop tool from the tools panel. An adjustable crop box will appear over your image when you activate this tool. You can drag the corners or edges of this box to the size you want your image to be. When you’re satisfied with the cropped image, hit the “enter” or “return” key on your keyboard to apply the changes.
Tip: If you want to crop your image to a certain size, you can input the specific length and width of the photo in the dimension boxes of the crop menu.
Step 3: Straighten the Photo
You can also straighten the image if it looks a little lopsided. Select the crop tool again, and an options bar will pop-up beside it. Look for the “Straighten” option on this bar and click it. You’ll notice your cursor will turn into a plus sign. Click and drag your cursor over the part of the image you want to straighten. Then, release the mouse to set the new orientation of the image.
Step 4: Adjust the Brightness and Contrast
You can also improve the lighting of your image using Photoshop. Start by clicking the half-dark and half-light circle icon at the bottom-right corner of Photoshop and select the “Brightness/Contrast” option in the drop-down menu. A properties toolbar will open where you can adjust the brightness and contrast of your image by moving the slider controls from left to right.
Tip: If you’re not sure what the best light setting is for your image, you can click the “Auto” button instead of adjusting the slider controls yourself. This way, Photoshop will correct the brightness and contrast setting for you.
Step 5: Change the Hue and Saturation

You can also make adjustments to highlight the colors in your image. Click on the half-dark and half-light circle icon again but this time, select the “Hue/Saturation” option. Another properties toolbar will appear with the same slider controls. You can move these controls from left to right until the colors on the image are to your liking.
Step 6: Blot out Small Things or Spots
There may be tiny objects in your photo you want to blot out. After making light and hue adjustments, do some selective corrections on the image using the spot healing brush.
Start by adding a new layer to your image. To do this, click the “Layer” option on the taskbar and select “New Layer” from the drop-down menu. Rename this layer so you can keep track of it later on.
Next, activate the spot healing brush from the tool panel. Adjust the brush tip depending on the size of the spot you want to blot out. Once the brush tip is set, hover your cursor on the image then click and drag over the objects you want to remove. Photoshop will use pixels around your cursor to cover the spots you clicked.
Step 7: Hide Large Objects from the Photo
Hiding large objects using Photoshop is tricky but doable. Instead of activating the spot healing brush, you’ll use the patch tool instead. Similar to the previous step, you’ll need to add a new layer to your image.
After adding a new layer, select the patch tool from the tools panel. Do this by clicking and holding your mouse on the spot healing tool. Choose the “Patch Tool” option from the drop-down menu that will appear. You then follow these steps:
- Select the object you want to hide by clicking and dragging your cursor around it.
- To hide the object, click inside this selection and drag it to a section in your picture that you want Photoshop to make a patch out of.
- Release your hold on the mouse when you’re happy with the way the patch looks.
Tip: Don’t make a perfect outline of the object when you’re selecting it with the patch tool. If you do, you’ll end up with an oddly-shaped patch in your final image.
Step 8: Add a Filter
Adding the right filters can help make your photos look more interesting. The blur filter, in particular, can create the illusion of a depth of field in your image. To add this, click “Filter” on the taskbar and select the “Blur Gallery” option. You’ll see five different blur filter options: Field Blur, Iris Blur, Tilt-Shift, Path Blur, and Spin Blur.
You can experiment with these filters by clicking on them and seeing what they do to your image. When you’re satisfied with how the filter looks, click the “OK” button in the options bar to set it.
Step 9: Sharpen the Image

The most important step in editing images on Photoshop is the sharpening stage. During this phase, you can enhance the edges of the objects within the image. This gives your photo a clean, crisp, and professional finish. Follow these steps on how to sharpen your image:
- Click “Filter” on the Photoshop taskbar.
- Select the “Sharpen” option from the drop-down menu.
- Choose the “Smart Sharpen” filter.
- A properties toolbar will pop-up. Adjust each of the slider settings until the image looks good to you.
- Click the “OK” button to apply the changes you made.
Tip: You can set the sharpening setting to default if you don’t want to adjust the slider settings on your own. Photoshop will automatically produce the best-sharpened version of your image when you choose this default setting.
Step 10: Save Your Edited Photo in Different Formats
Now that you’ve edited your photo to your liking, it’s time to save all the changes. It’s best to save it as a .psd file if you’re going to share it with someone who also has Photoshop on their computer. These are the steps to follow so you can save your image as a .psd file:
- Click “File” on the Photoshop taskbar.
- Select the “Save As” option from the drop-down menu. This will open the “Save As” window.
- Rename the file by typing in the text box beside the term “Save As”.
- On the lower portion of the “Save As” window, make sure to tick the box beside the term “Layers”.
- Change the format of the file to “Photoshop Document (.psd)” by clicking the drop-down menu beside the word “Format”.
- Click “Save” to confirm the changes.
Tip: If you’re sharing the picture with someone who doesn’t have Photoshop installed on their computer, you can save your image as a JPEG file. By converting your file to a JPEG image, you can easily post it on Facebook, attach it to an email, or even print it out. Just repeat the steps on saving your image as a Photoshop file, but instead of choosing the “Photoshop Document (.psd)” format, select the “JPEG” format from the drop-down menu.
Want to see how to edit photo files using the spot healing and patch tools? Watch this video by Adobe Creative Cloud to learn more:
You now know how to edit photo files using Photoshop. With these 10 steps, you’ll be able to cover the basics of photo editing. But when you experiment with the tools and practice on your own, you’ll master how to edit photos like a professional in no time.
Do you have other questions about how to edit photo files on Photoshop? Write them in the comments section below!
Up Next: Lightroom vs Photoshop | Which is Better for Beginners?