How Can I Improve the Sound Quality?
Estimated reading time: 4 minutes
Table of contents
There’s a misconception that video is all about images, but that’s not true. You can fully appreciate visuals if they are accompanied by high-quality sound. The viewer is emotionally removed from the material when the sound is of low quality, which means that the brain must exert more effort to comprehend it, leading to rapid mental exhaustion.
When making a video, it is essential to ensure that the sound is high quality. However, even if you don’t have access to professional recording studio equipment, your videos, and pre-recorded training courses can still benefit from high-quality audio.
It is better to prepare yourself to record audio of the highest possible quality from the beginning rather than to settle for a mediocre recording and then attempt to improve it later. Besides that, in “post-production,” it is possible to improve the sound quality; however, there are some aspects that, once recorded, can never be removed.
In this article, we’ve compiled a list of tips and tricks for how you can enhance the sound quality of your videos.
Utilize the Various Tools for Editing Audio
You can use a wide variety of audio editing software to your advantage. For instance, software and services mediamedic.studio offers audio cleanup services that anyone from an employer can use to a producer or an attorney.
One more example of this is the software Audacity, which serves as an excellent primer for those interested in audio editing. It is free software that was developed by a community of volunteers. You will be able to reduce the length of a file by removing ambient noise or editing out silence and adjusting volume.
When it comes to creating a high-quality-sounding video, these software tools can help you in every way you can think of!
SEE ALSO: The 10 Essential Audio Equipment for Your Home Recording Studio
Consider Where You Want to Record Thoughtfully
Keep in mind that you need to select an ideal location for the recording. The perfect setting would be a room with very little or no ambient noise. It’s best to pick a secluded space and turn off any appliances that make constant noise, like air conditioning or dishwashers.
Aside from that, it’s also essential that you keep a few feet away from the mic or other audio equipment you’re using. The plosives in your voice may be masked by your proximity to the microphone, making it more difficult to hear what you say.
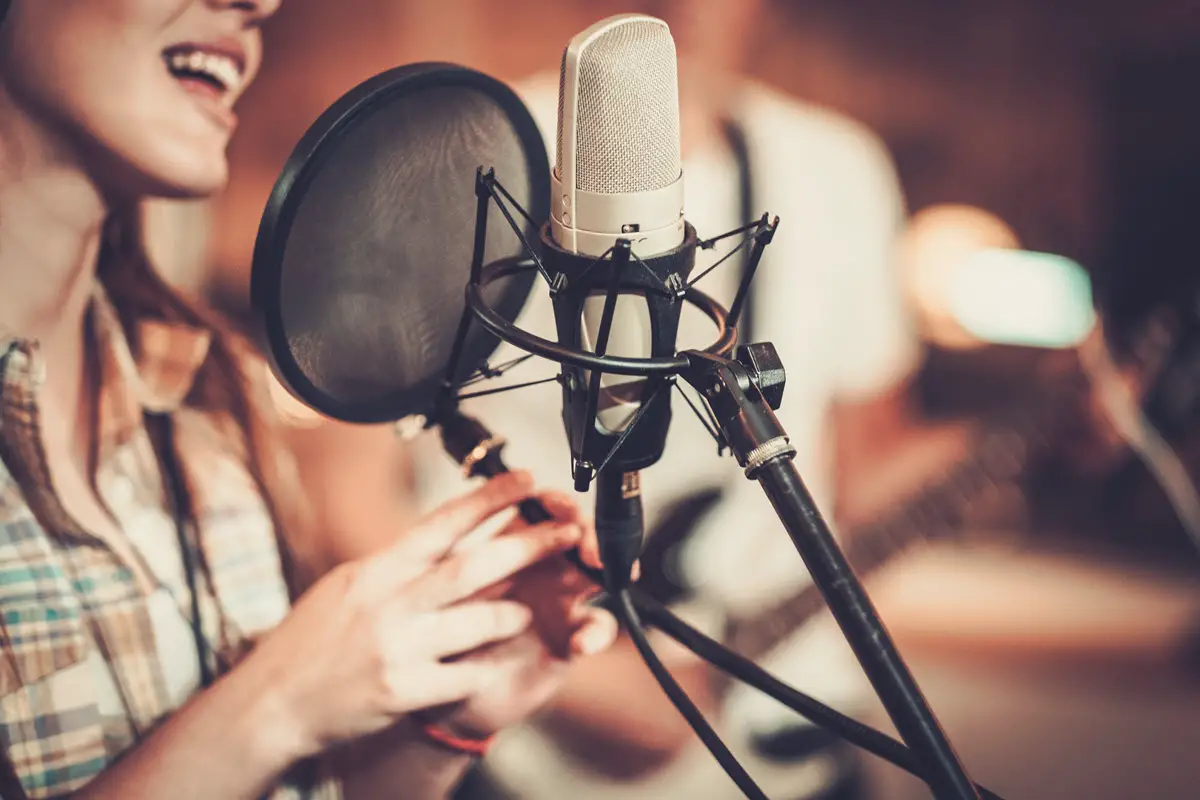
Check How Far the Microphone Is Away From the Person
The distance that separates the microphone and the speaker is one of the primary factors determining sound quality. The speaker must be close enough for the microphone to pick up all the sounds. Breathing into a microphone can be audible if the speaker is too close. Microphones vary in their ideal distance; it is between 10cm in most cases.
SEE ALSO: Sound Bar | Inexpensive Alternative to Multi-Speaker Surround Sound
Examine the Microphone’s Sound Capabilities
One of the most important factors is the microphone itself when it comes to audio. Most of the time, higher-priced microphones do have higher-quality sound. Luckily, there are also inexpensive microphones capable of recording high-quality audio. It guarantees that the speaker and the microphone are kept at the appropriate distance.
Increase the Quality of Audio by Amplifying and Normalizing
What if it’s too loud on your end? Possibly the volume is too low? The audio quality of an interview recording will often be disappointingly low because of poor microphone placement.
With this simple trick, you can increase the volume of your music. The amplify option is available to you if you want to adjust the audio track volume that you select while maintaining the relative volume. Conversely, if you’re going to raise the volume in one section and then lower it in another, you should use the normalize effect.