Unboxing the Brother HL-4070CDW wireless color laser printer
Don’t ask me why but technical people get a kick out of watching someone take a brand new product out of the box. It’s called “unboxing” and serves as a perfect way for the non early adopters to live vicariously through the early adopters.
The unboxing is usually done via video and includes a running commentary of what the person unboxing the product is doing or what he or she is pulling out of the box one step at a time.
Yesterday, my brand new Brother HL-4070CDW wireless color laser printer arrived on my doorstep so I thought I’d have a little fun with it and do a little unboxing of my own.
There are a couple of things that set my unboxing aside from the usual ones. These are:
- I have never done this before.
- I used my iPhone instead of a video camera and therefore the commentary will be provided by written text instead of spoken words.
- Although my printer is relatively new to the market, it wasn’t release at midnight last night.
Despite these shortcomings, I still thought it might be fun. So here goes:

The brand new printer arrives. By the way this thing was extremely heavy. It even had a sticker on the box that read “minimum two person lift”. Unfortunately I read that after I had already moved the box myself and kinked my back.

First look at the contents of the box. Nothing too exciting on the first layer. Just a user manual and installation CD.

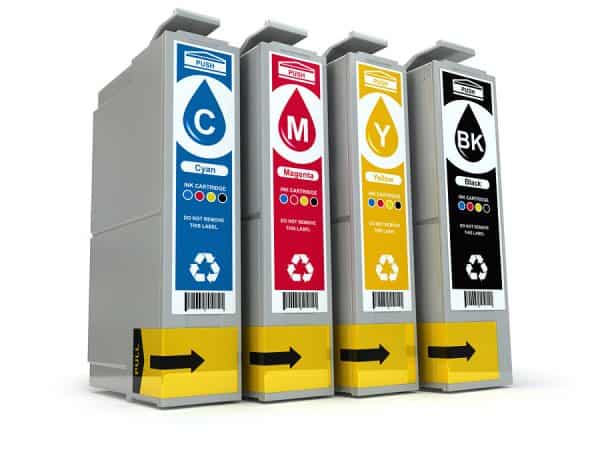
The second layer revealed after removing the first layer. The second layer contained four toner cartridges (more on this later) and the power cable.

Four toner cartridges layed out all nice in a row. I guess I never stopped to think that a color laser printer had to have four toner cartridges to operate correctly. The first cartridge was black and the remaining three were blue, magenta and yellow.

Layer three, the printer. This was actually a little tricky to get out of the box due to its weight and the utter fear of dropping it.

First look at the printer out of the box. Getting closer.

Toner cartridge installation. Four slots for four toner cartridges. Kudos to Brother for color coding the slots and cartridges to make identifying the proper cartridge slot a snap.

All four toner cartridges in place and ready to go.

Powered the printer on. After a long warm-up process, printed a test page as per the setup instructions in the user manual.
Before I proceed to step 10, I feel I owe it to my readers to tell you there was about a 30 minute gap between steps 9 and 10. This time was spent trying to configure the printer to talk to my wireless router. During this process, I ended up accidentally reconfiguring my router instead which caused several delays trying to get my router settings back to what they were before I tried configuring the printer.
It should also be noted that configuring the printer as a wireless device goes way beyond most noobie’s capabilities. Just chalk it up to one of those times that you need to call in a professional (like Noobie of course).
And to be fair, the printer does not have to be used wirelessly. That is just how I chose to use it. Less messy with fewer wires. But you can connect the printer through a standard wired network cable or even USB if that’s your cup of tea.

Finally, the printer was configured to work as a wireless device. I installed the printer driver and software from the CD and then fired up my Internet browser. After surfing over to Amazon.com, I printed a test page from Amazon.com. Success!