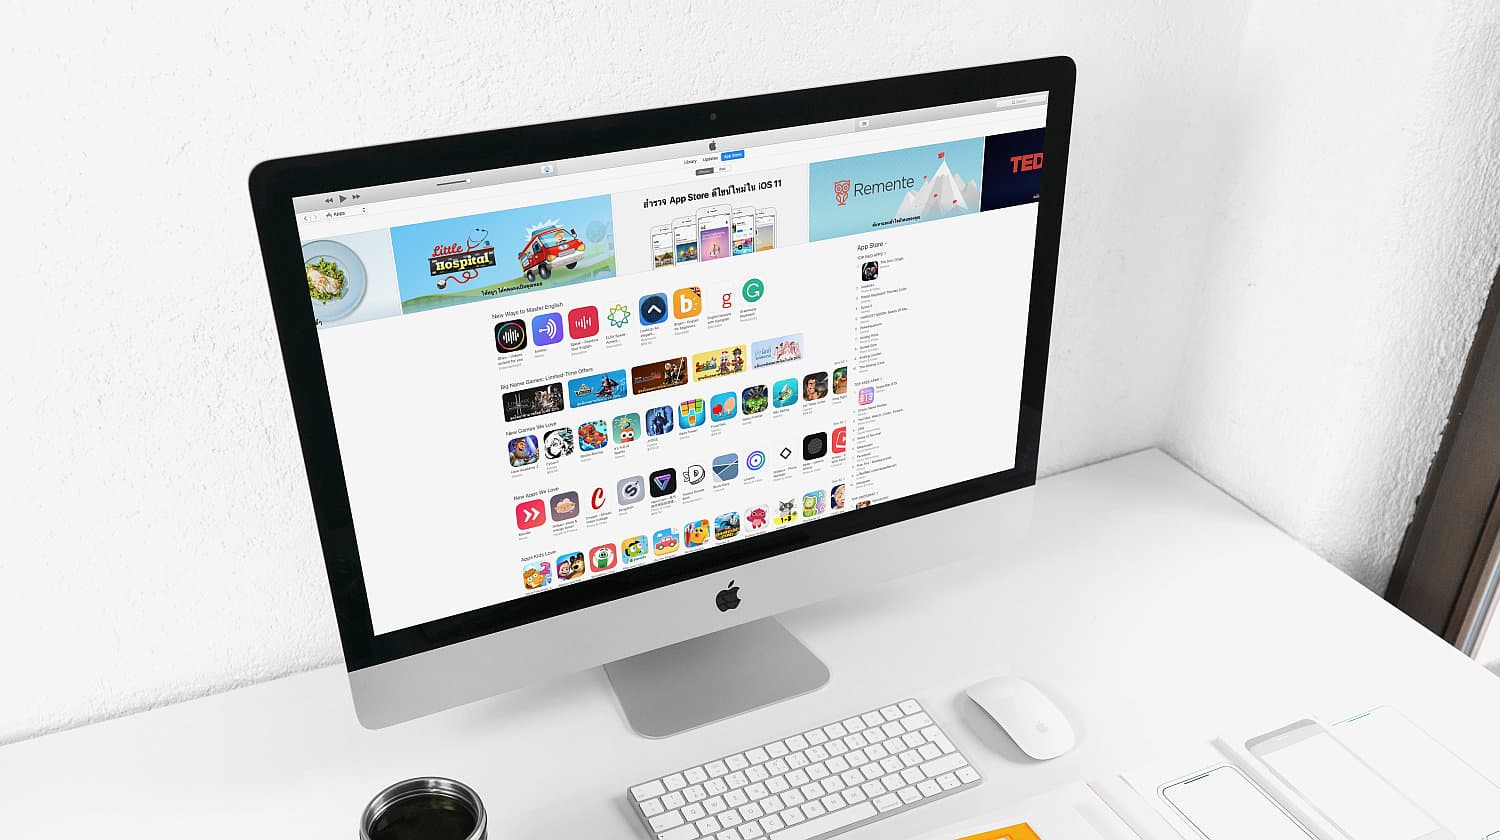
How To Use iTunes | A Step-by-Step Guide

If you’re having a hard time managing your songs and streaming your music, these steps on how to use iTunes can better improve your listening experience using a couple of neat iTunes features.
RELATED: How To Update iTunes In 3 Easy Steps
9 Steps on How to Use iTunes for Better Listening
Step 1: Get Rid of the Dead Tracks
There’s nothing like the feeling of your playlist getting disrupted by dead tracks. Check for iTunes files with the broken icon or a circled “!” next to the song title. You won’t be able to access them and iTunes also can’t play these files. Unfortunately, there’s no easy way to remove dead tracks on an iOS device. You need to run the iTunes player on your Mac
Open iTunes and use AppleScripts to quickly and automatically get rid of all the dead tracks. Try using Doug’s AppleScripts to remove your dead audio files. Click “Run,” then look for the option “Super Remove Dead Tracks.” This will automatically clean up your iTunes library and remove the dead tracks.
You can also manually delete each broken file on your Mac and iOS device. This may seem tedious but it can help you make a list of your dead tracks and download a new file later on so you won’t lose any of your music.
Step 2: Download the Album Art
https://www.instagram.com/p/uA9xD-OTra/
Let’s face it, all your albums with missing front covers are boring and hard to recognize at first glance. Your playlist would definitely look a lot better if all the albums had their covers. Add the album artwork to your iTunes player by right-clicking on the album (Ctrl + click the album) and then click “Get Album Artwork.” This option will let the player find the artwork for you and automatically replace the empty cover. However, note that this will only work for some albums, not all.
You can also manually add the artworks by searching the album cover through Google Image Search and downloading it. Then, go back to the album and press Ctrl + click the album and choose “Get Info.” Open the Artwork tab then click “Get Artwork.” Use the Finder window to find the artwork file you downloaded and click Open then OK.
Step 3: Line Up Your Songs in the Up Next Feature
You don’t need to make a playlist for easy listening. You can always queue up your songs so you won’t have to skip tracks just to find the right song. Line up the next song you want to listen to by pressing Ctrl + click the song and select the “Add to Up Next” option. This will queue up your song and you can always check what you’ve lined up by clicking the three dot icon on the top bar of the iTunes player.
You can rearrange the songs on your Up Next playlist by clicking on the track and drag it in the queue. You can also do this on your iOS device by touching and holding the three bars on the side of the song.
You can also remove songs from your Up Next queue. On the Mac, hove the mouse over the song until the X button shows up and click it. On your iOS device, choose the track you want to remove and swipe left then tap the Remove option.
Step 4: Show the iTunes Sidebar
If you want to go back to the playlist route, you should bring back the sidebar on your iTunes player. There was an iTunes update that hid this sidebar which also hides your playlist. To bring it back, look for the “Playlists” button next to “My Music” and click on it. This will automatically bring back the sidebar but it’ll be hidden again once you shift from the playlists.
RELATED: Can You Use An iTunes Card To Purchase Time On Your Smartphone?
Step 5: Make a Smart Playlist
Instead of manually creating your own playlist, which can be time-consuming for large iTunes libraries, you can use the Smart Playlist to make one. This feature lets you choose the genre, year, and artists to put in the playlist. You also have the option to take out songs that were last skipped or put in songs in the “does not contain” option.
Click on the “File” button at the top of the iTunes software then click “New” and “Smart Playlist.” This will open up a small window to let you customize your Smart Playlist by putting in your preferences. You can also choose how many songs you want to be added from the list of genre, year, artists, and your recently played and most recently added list. If you turn on the live updating option, the Smart Playlist will automatically make adjustments everytime you add or play a song.
Step 6: Stream Songs on Your Apple TV

In order to have the best listening experience, you need to go hands-free. This means not having to bring your laptop or your phone with you every time you leave the room. Connect your phone to your Apple TV or any other AirPlay devices you have at home to stream music on these devices. This is especially useful if you’re having a party but can’t find your speakers or want to take photos with your guests.
To connect your Mac or iOS device to your Apple TV, make sure they’re connected to the same Wi-Fi network. Then, on your iTunes player, click on the triangle on the left side of the top bar. This will show a list of available devices then click on your Apple TV. Press “Play” and your music will start streaming on your Apple TV.
Step 7: Turn On Family Sharing
Share your music, apps, books, shows, and movies with the rest of your family via the Family Sharing option in the iOS 8 update. On your Mac, go to “System Preferences” and click on “iCloud” then “Set up Family.” This will open onscreen instructions on how to set up your family list and invite your family members using their Apple IDs. You can register a maximum of 6 family members and share content with each other.
Step 8: Set Up the Home Sharing Feature
Apart from the Family Sharing feature, you also share your music and movies through the Home Sharing feature. This feature works on multiple computers and devices connected to the same Wi-Fi network even without registering their Apple IDs. Click on the “File” option and then “Home Sharing” which will ask you to log in your Apple account before connecting your Apple device.
With this feature, you can also stream your movies and music throughout different devices in the house but you can only connect a maximum of 5 computers to Home Sharing. There’s also no need to worry about your personal playlist because they will stay separate.
Step 9: Create Your Own Ringtones
Buying ringtones from the iTunes store for your iOS device can be costly. Fortunately, you can make your own ringtones using the songs that are already in your iTunes library.
On your Mac, press Ctrl and click on your song, then choose “Get Info” and then “Options.” Make sure you uncheck the start time option and leave the duration of your ringtone less than 30 seconds before clicking OK. Then press Ctrl and click the same song to choose the “Create AAC Version” option which will make the same song appear twice in your library.
Before syncing your phone, click on the new song file and then click “Show in Finder. Save the file as a .M4R file, then delete the previous file from your iTunes. Then, drag and drop the new .M4R file and sync your phone. On your phone, find the song and assign it as your new ringtone.
Learn how to update iPhone to the latest iOS software using iTunes in this video from Tech & Design:
Apple’s iTunes software continues to be the most used music streaming app among iOS, Mac, and Windows users because of its many features. We hope you’ve found some handy tricks on this post to better utilize these features. Getting to know how to use iTunes can improve your listening experience on any device. Just follow these simple steps so you can stream music and share data on any Apple device in your home.
Do you have more questions on how to use iTunes and improve your music experience? Leave your questions in the comments section below!
Up Next:


